
Hi guys! I haven't done any nail art for a while, and after doing this I feel like I want to start making fake nails again. This is pretty easy to do and even if you're right handed and very un-ambidextrous like me it's not too hard to do on the other hand - other than outlining the nail is a little tricky. I actually love the look of outlined nails, it gives your nails such a nice shape as weird as that sounds.

Essentially all you need is a black nail art pen, and a few assorted other colours of nail pens. My favourite in terms of easiest of use is the Barry M Nail Art Pen as it works as a pen (no need to squeeze as you use, colour doesn't get blocked in the tube, easy to control thickness of line etc), but the Models Own/Wah Nails collab pens are pretty good too. I also used a base colour as I was just going to leave my nails red before I did this, but you can skip this and just fill in your stained glass 'panels' individually.
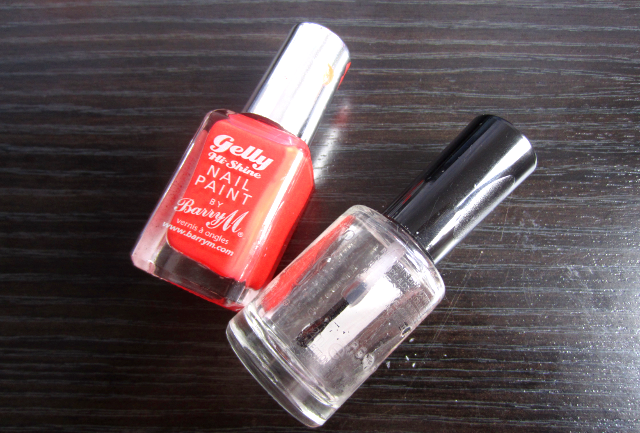
Barry M Gelly Nail Paint in Passion Fruit, and a Top Coat (mine is a crappy old collection one that's drying up)

Barry M Nail Art Pen in Black, assorted Models Own/Wah Nails collab Nail Art pens
I painted a base with the Barry M Gelly colour, then outlined my nails using the black pen and created the stain glass panels a la the ASOS tutorial I was inspired by below. Then I filled in the sections with different coloured nail art pens and finished with a top coat.


Check out the tutorial above which shoes a much neater and profesh version of mine, will definitely be trying this look out with different colours, maybe pastels? What nail art designs have you been loving recently? xx
No comments
Post a Comment