Stargazer loose glitter nails | Tutorial
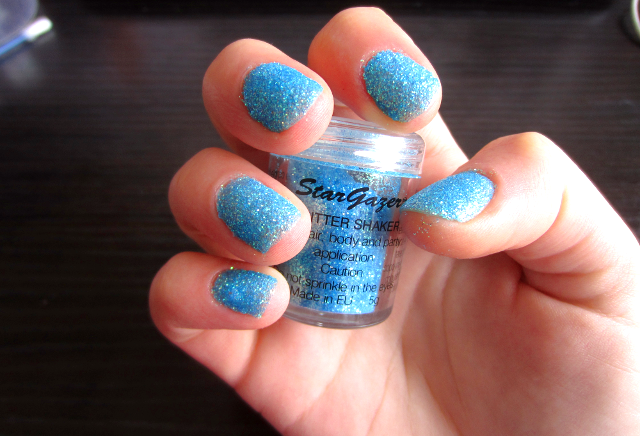
I got this idea after seeing the GOSH loose glitters for nails, and I realised what is the difference between those and other loose fine glitters you can buy? So I dug out some of my Stargazer glitter, asides from their dyes (which are my favourite alternative colour dyes) they do make up as well. There's a shop in the Arndale in Manchester called Duty Free which does alternative colour hair dyes, wigs, piercing jewellery, typical hen night paraphernalia (think phallic straws) and make up; and I picked up a couple of Stargazer glitters a while back for a themed night I was going to. The one I'm using is just called 'blue' I think, but there are loads of other colours too.

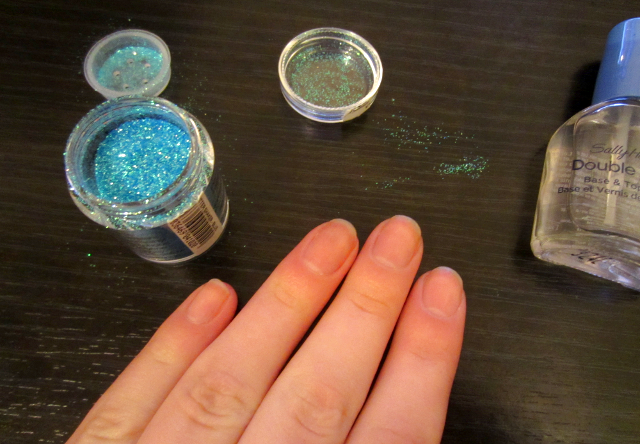
All you need is a fine glitter and a good clear nail polish...

1) Apply one coat of clear polish
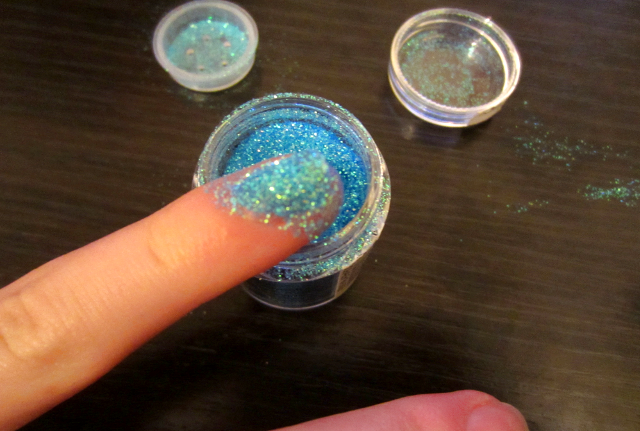
2) While the polish is still wet, dip your finger in the pot of glitter, making sure it is coated thoroughly. Then tap off any excess back into the pot.
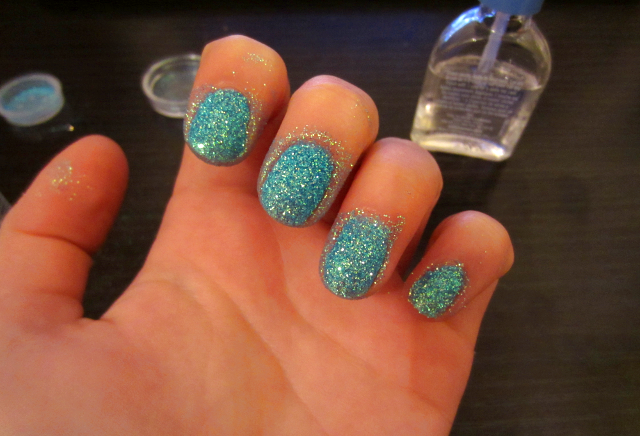
3) Admire your messy but spangly nails
4) Remove the glitter around the cuticles with a cotton bud
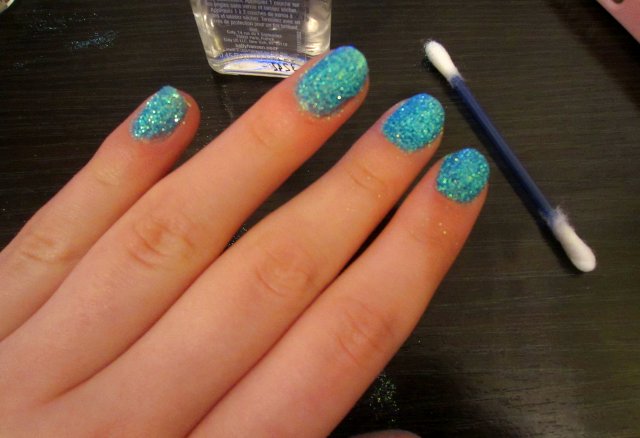
5) Apply two coats of the clear polish on top, and you're finished!
This look is far more vibrant than using normal glitter polish, it sparkles like crazy in sunlight especially! I haven't tried taking it off yet but I will report back vis a vis it's difficult compared to normal glitter varnishes which are usually a pain. xx

4 comments
they look sooo cool, love the blue x
love your nails. they look awesome and thats a nail art thats easy enough for me to do.
xx
dornroeeschen.blogspot.com
Omgosh, your nails look so awesome. I'd be interested to read how easy it was to remove!
Tara x
they look like mermaid nails! love!
Post a Comment